Pages

Showing posts with label Flower. Show all posts

Saturday, February 22, 2014

Easy St. Patrick's Day Wreath Tutorial

Yes, I took a small detour from fleece today because I wanted to make a St Patty's Day wreath.  I probably could have used fleece to make this but I saw glitter and a cute ribbon and had to go that way.


Isn't it cute?  I just love it! I did have a little problem with not having enough ribbon but you'll see how I fixed that later.

Here's what you need:
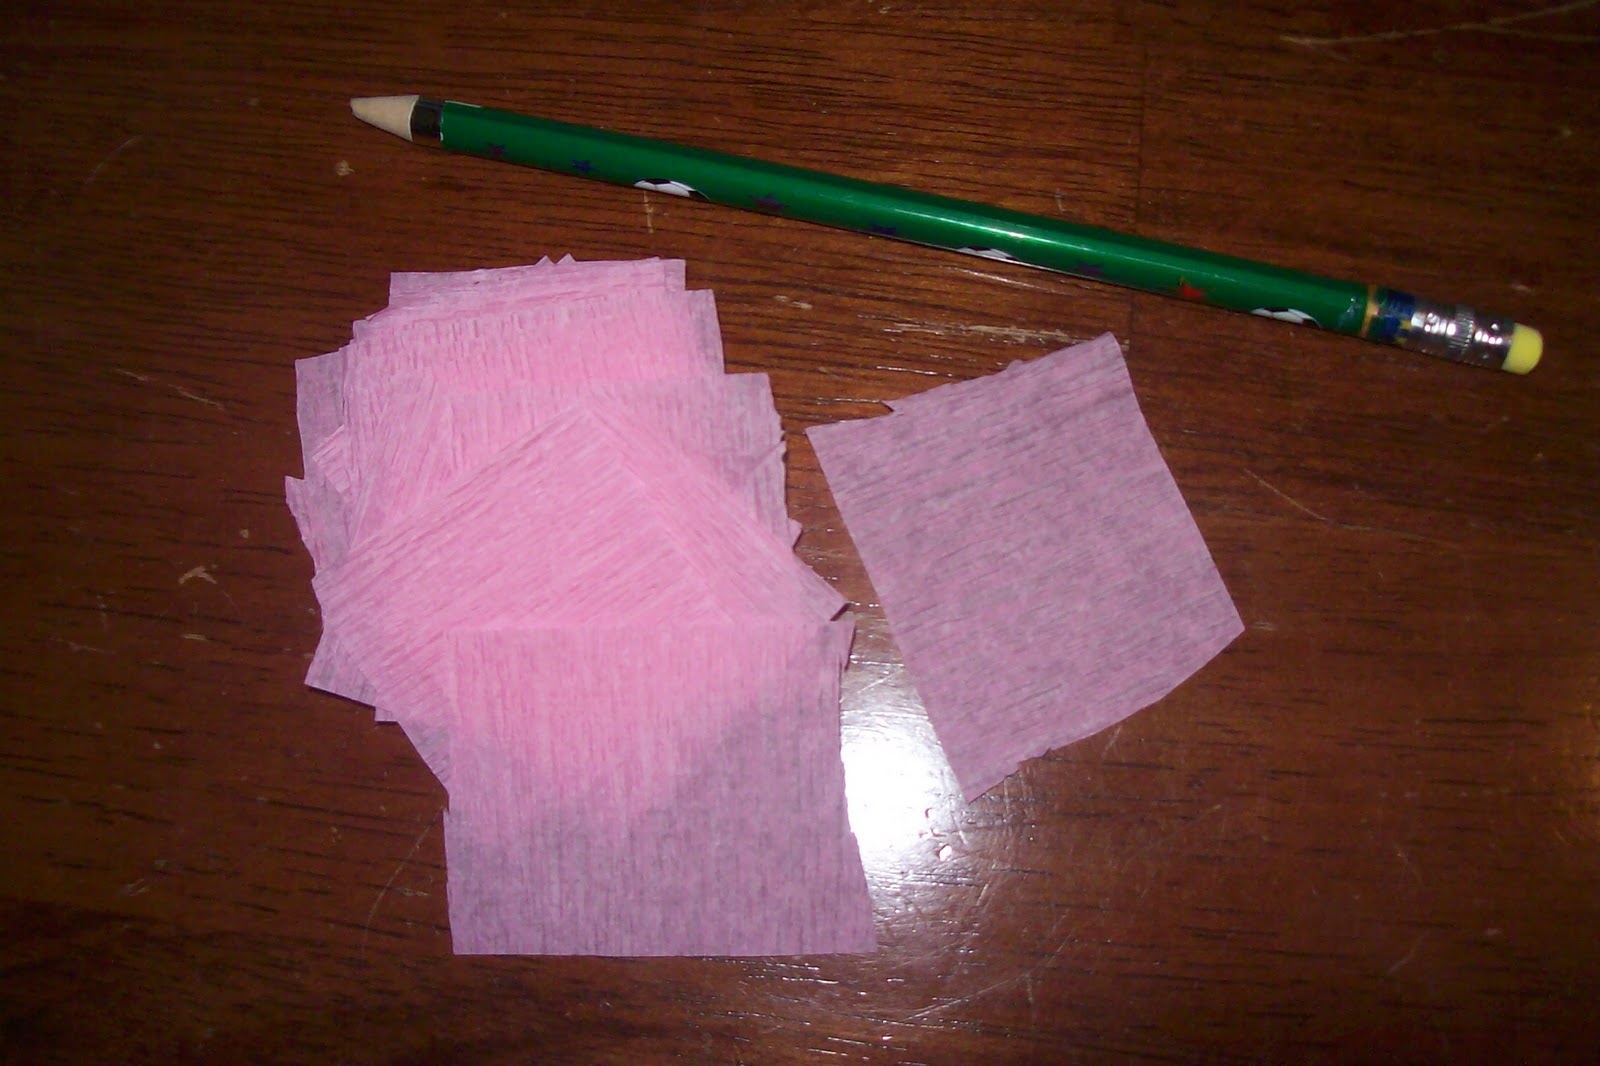
Felt in greens
wreath form
foam clovers
green glitter ribbon
glue gun
scissors

Wrap the ribbon around the wreath form. I glued the down the beginning part so it won't unravel as I wrap.

Keep wrapping all the way around.  And as you can see, this is where my problem started.  I didn't have enough ribbon.  Well, I wasn't about to run out and drive 20 minutes out to get the same ribbon when all I needed was a small amount.  So I improvised.

I took one of my dark green felts and cut a strip the same size as the ribbon.

Glued it to the end of the ribbon.

Started wrapping again but it still wasn't long enough, so cut another strip.

Much better.  It wrapped all the way around.  Doesn't look too fancy but it will do. 

So I just covered it up with the foam clovers.


Here's the back.

Time to make the flowers.  Cut another strip of green felt.

Fold in half at one end and glue together.

Fold the glued end again, making a triangle shape (matching the top end to the bottom) and glue.

Now you are going to start rolling that glued end piece into the felt.

The beginning is a little tricky as it wants to unroll, so hold on to it tight.  Now start twisting the loose edge and roll it around the part you are holding.

Keep twisting and rolling.  Apply glue as between the rolls to hold it in place.  The tighter the twist the tighter the flower.  Loosen up a little on the twist and see how it has a fuller look to the flower. 


Finish off the edge by gluing the end to the back and now glue the flower onto the middle of one of the clovers.

Repeat the flowers using other green felt colors and glue onto the other 2 clovers.
 Ta-dah! What do you think?

But the back was still kind of ugly with that felt so I took some left over glitter foam and glued that over the exposed felt in the back. And hooray!  Prettier!

Better, right?


 Although it was already cute, I wanted to give it a little more "oomph" so I added some feathers randomly.  I totally love it even more!

 Hope you enjoyed it!  If you make one, please share it with me!  I'd gladly post it up here with a link back to you!

Peechee


Tuesday, April 30, 2013

Spring Felt Flowers

So how time flies!  It's been a while and there's no excuses, just life. 

Thought I would share some spring felt flowers I recently made ...


Working on others with a San Diego Chargers color theme for an upcoming wedding.

Monday, May 21, 2012

Party Table Cover Flower Pouf

Phew!  Been a busy few weeks with moving my oldest baby out of his dorm, preparing for Prom for my baby girl and helping out with After Prom (sure not use to being out until 5am), then field trips, track and field day, and school picnic for my lil' man.  It's been crazy.

Well, now I'm preparing to host an ice cream party for my lil' man's kindergarten class as an end of the year party.  I've been running around getting bowls, buckets, candies, and making some decoration.  We don't have a big budget so I'm trying to use my creativity by making a flower decoration using party table covers.


Normally, tissue is what is used for these flower poufs but I decided to use plastic party table covers so that the teacher can use it again next year.  She can flatten it and next year just pouf it back up.  If it gets wet, just let it dry.  No problem.  Here's how I did it....

You'll need a plastic tablecloth, scissors, & string.

Cut the sides open so that you have individual sheets of the tablecover.

Fold over and cut it in half.

Start fan folding the tablecover.

Tie off in the middle.

Here it is tied off and fan folded.

Begin to pull apart each plastic piece.  Twist and turn any way you want.

Here is one half of the pouf separated.

And here it is all poufed out and ready to hand or taped to a wall or table.

I am making a few more in the colors of the ice cream party theme.  I will post pictures up after our party so you all can see my plastic poufs and our ice cream party decoration.

Until then...

Peechee

Thursday, January 5, 2012

Recycled Logo Wall Art

I used to be a representative for Lemongrass Spa but due to my lack of effort to push to have spa parties, I couldn't keep up with the quarterly monetary requirements.  So I had to say goodbye even though I loved their products.  Now I am just a customer.

Anyway, to show them my thanks and appreciation, I took their logo and created a wall art using a cereal box and their old catalogs.


I drew and cut out their logo from a large size cereal box - the ones from like Costco and Sam's Club since those boxes are sturdier.  Then I painted it green to give it a base color.  I then took their catalog and punched flower shapes in 2 different sizes.  Meticulously, I curled each flower petal then glued down each flower shape onto the painted cardboard logo and put a small hanger on the back so it can be hung.


An easy project, just time consuming but very rewarding.  I hope they like it.


Tuesday, August 23, 2011

Bottlecap Flower Pen


Yup...it's been a while but that doesn't mean I haven't been crafting.  Here's something that I made for my lil' man's teachers as a thank you for all they have done.


This way they will easily find their pen and if someone tries to take it, they will see.  Plus what a nice way to remind them how special they are, not to mention how pretty it looks sitting in a small vase on the desk. 

Hope you enjoy'd.

Peechee

Thursday, April 14, 2011

Beaded Flower Hair Pin


These are a few beaded flower hair pins that I created for my daughter to decorate her hair for her Junior Prom.

I entered them into another hair jewelry competition and, although, I didn't get first place, I did get 2nd place.  So not bad, right?  Regardless, I think they looked wonderful in her hair!

Tuesday, February 8, 2011

Recycled Pizza Board to Valentine Heart Wall Hanging

This is a Valentine Home Decor Project that me and my little man created together and it is RECYCLED!  I love to try and recycle items so I'm pretty proud of this one.

First you must understand that my family loves pizza from Aldi's.  It is frozen pizza but we have a pizza maker/heater that cooks it perfectly and it is so yummy.  Anyway, the pizza's are packaged up with a round cardboard to support it.  When you open up the pizza, of course, you're supposed to throw the round cardboard away.  Well, I just couldn't and have thought of several ideas I could do with them.  Pictured above is my first idea.

So here's the cardboard backing of the pizza.


I folded it in half.


I drew a half heart shape while folded
 (took me a couple of tries to get the heart bump
that I like as you can see).


Cut out the heart shape.  This will be your template
since you won't want a partially folded board.
Do you notice how I am holding the scissors? 
That's because my thumb is still injured
 and I can't grasp anything without feeling
a lot of pain.  So while I wait for it to heal,
this is how I have resorted to cutting.


Trace the heart template to another board and cut out. 
I traced it on several because
I was planning on trying several different designs.


I then took a piece of paper, fold it in half, 
drew a smaller heart shape, and cut it out.


I took the paper template and lined it up on the
inside of the cardboard. I just eyeballed it.
I then traced it onto the cardboard.  You can sort of see
a faint heart line in the middle of my board.


Now the fun part... I used pink paper streamer and
cut squares  from them.  You'll also need a
 pencil with a flat eraser top.


I took a streamer square and placed the
pencil top in the middle.


I then pulled the sides of the paper up to cover
the pencil.  I remember doing this back in
 elementary school to decorate pinatas.


So here's my lil' man preparing to put his
cutting skill to work.


And here he is cutting the squares out. 
We cut out a lot. 
Almost used the whole streamer roll.


Lil' man's turn to wrap the squares around the pencil.
 I've applied tacky glueon the outer part of the heart. 
I have other plans for the inside heart.


He's gluing it down. 
Look at the concentration on his face.


Here's some of the squares already glued on the cardboard. 
 Looks like flowers he said.


And here's more of the squares glued on. 
Looks fluffy and really didn't take too long.


TA-DAH!  The whole outer heart is complete. 
Now comes mommy's turn.


Using red streamer paper, I rolled and pinched lenghts
of streamer paper to create these flowers.  This time I made
sure I had the same length for each flower so they would be
about the same size but crazily, they still turned out
 having different sizes.  All depends on how I rolled them.


Here I have started gluing the flowers in
to fill up the inside heart.


All done!  Now how to hang it?


Visited the dollar store and found a really pretty
Valentine ribbon for (of course) $1.00.
I made a bow with long tails, glued the tails onto the back,
and it's ready to be hung. Now, I could cover the back
with felt or any fabric but personally I like having the
logo stuff on the back so when I tell people
it's recycled and what it's from,
I can also show them.  Proof...it's recycled!

Isn't it pretty?


Hope  you enjoyed it!

Peechee

       WWFB