Pages

Showing posts with label Valentine. Show all posts

Tuesday, February 15, 2011

Valentine Candy Bouquets - presents for my family

Well I hope everyone had a loving and fun Valentine's Day.  I have wanted to post these up for a while but was scared my kids would see it and then my surprise would be ruined.  Well, now that Valentine's is past, I can finally show you what I created for my family's Valentine gifts...

This is a close-up of my candy bouquet I
made for each one of my kids. Inside the
wrappers are mini hershey, crunch, kit-kat,
reeses, snickers, & 3 muskateers bars.
The outside is surrounded by mini-mini
hershey and cookies n cream hershey bars.


Here's for 2 of the kids - sorry can't see the pink one
too well.  I need a new camera.


Here's for the other 2.


Here's another one.  I used Ghirardelli Dark Chocolate. 
Each one is wrapped with a statement of love.


Here's what they saw when they came into the kitchen.


Just had to show off my thrift store creation.
I found a glass/vase and wine glass while
visiting one of the local thrift shops.
I turned the wine glass upside down and
glued the glass/vase on top. And wah-lah!


Here's another.  I was lucky to find a set.
There actually was a third glass/vase that
was taller but the glass is so thin that when
I got home it was broken.  Bummed me out.
Oh well.  I still had the 2.

Belated Valentine's Day everyone!

Peechee


Tuesday, February 8, 2011

Recycled Pizza Board to Valentine Heart Wall Hanging

This is a Valentine Home Decor Project that me and my little man created together and it is RECYCLED!  I love to try and recycle items so I'm pretty proud of this one.

First you must understand that my family loves pizza from Aldi's.  It is frozen pizza but we have a pizza maker/heater that cooks it perfectly and it is so yummy.  Anyway, the pizza's are packaged up with a round cardboard to support it.  When you open up the pizza, of course, you're supposed to throw the round cardboard away.  Well, I just couldn't and have thought of several ideas I could do with them.  Pictured above is my first idea.

So here's the cardboard backing of the pizza.


I folded it in half.


I drew a half heart shape while folded
 (took me a couple of tries to get the heart bump
that I like as you can see).


Cut out the heart shape.  This will be your template
since you won't want a partially folded board.
Do you notice how I am holding the scissors? 
That's because my thumb is still injured
 and I can't grasp anything without feeling
a lot of pain.  So while I wait for it to heal,
this is how I have resorted to cutting.


Trace the heart template to another board and cut out. 
I traced it on several because
I was planning on trying several different designs.


I then took a piece of paper, fold it in half, 
drew a smaller heart shape, and cut it out.


I took the paper template and lined it up on the
inside of the cardboard. I just eyeballed it.
I then traced it onto the cardboard.  You can sort of see
a faint heart line in the middle of my board.


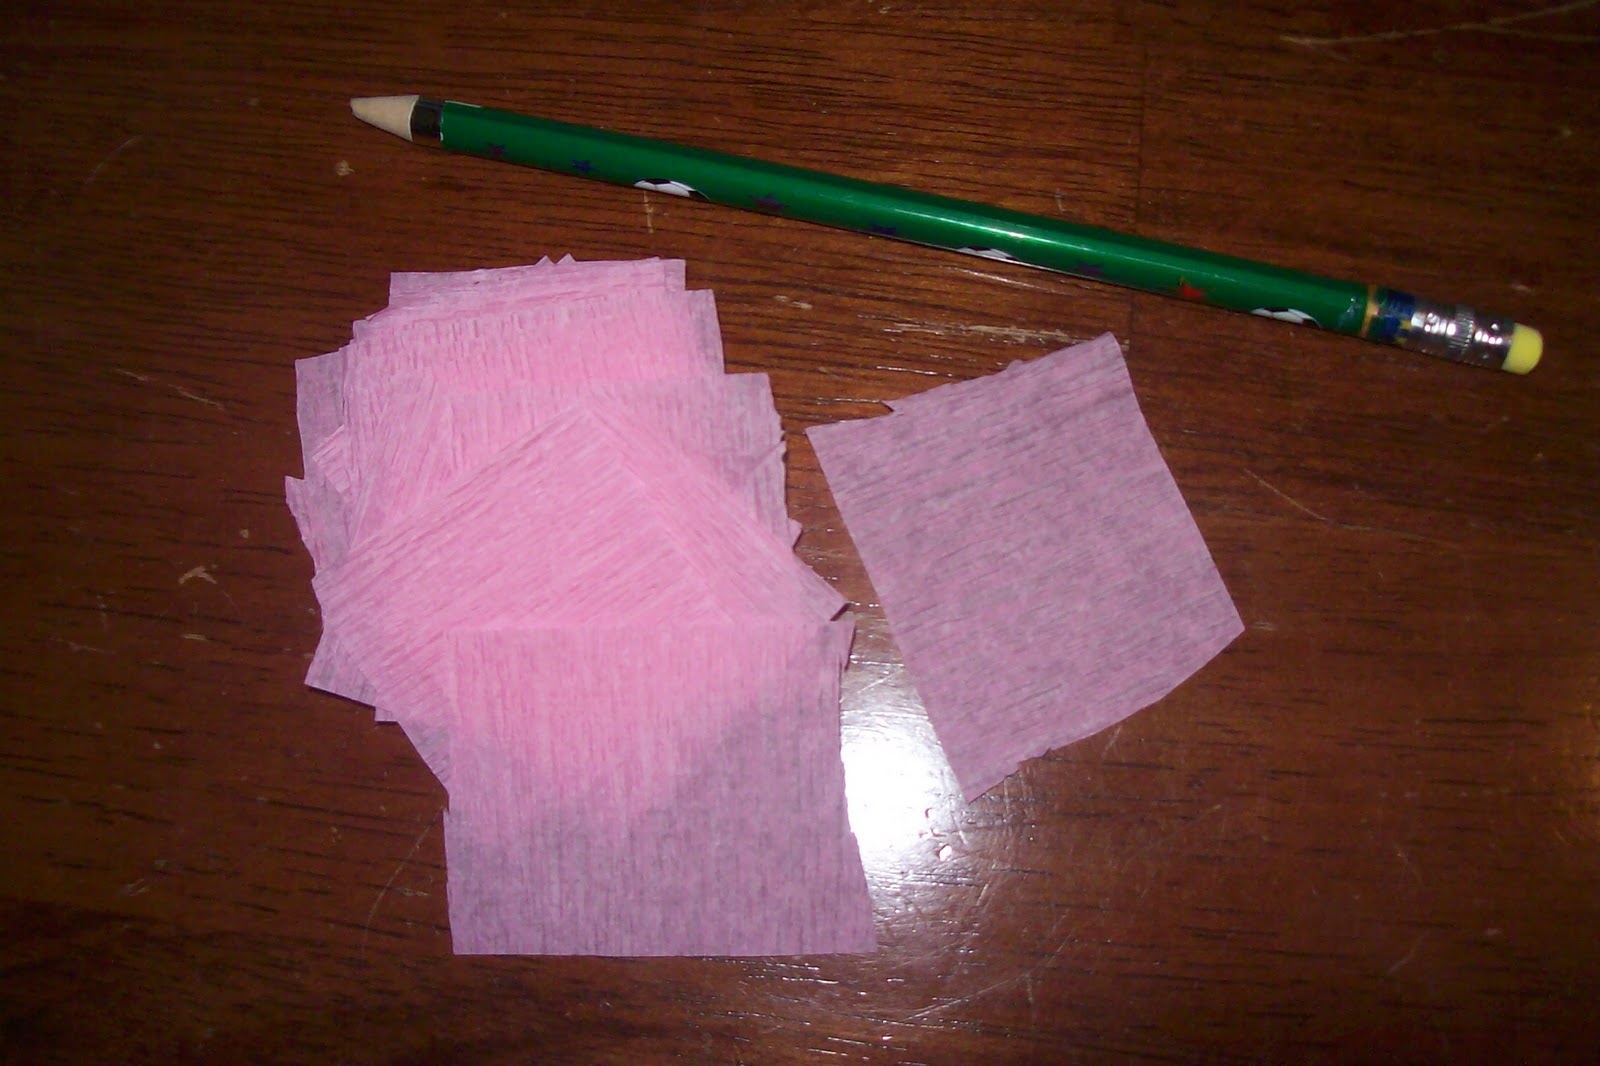
Now the fun part... I used pink paper streamer and
cut squares  from them.  You'll also need a
 pencil with a flat eraser top.


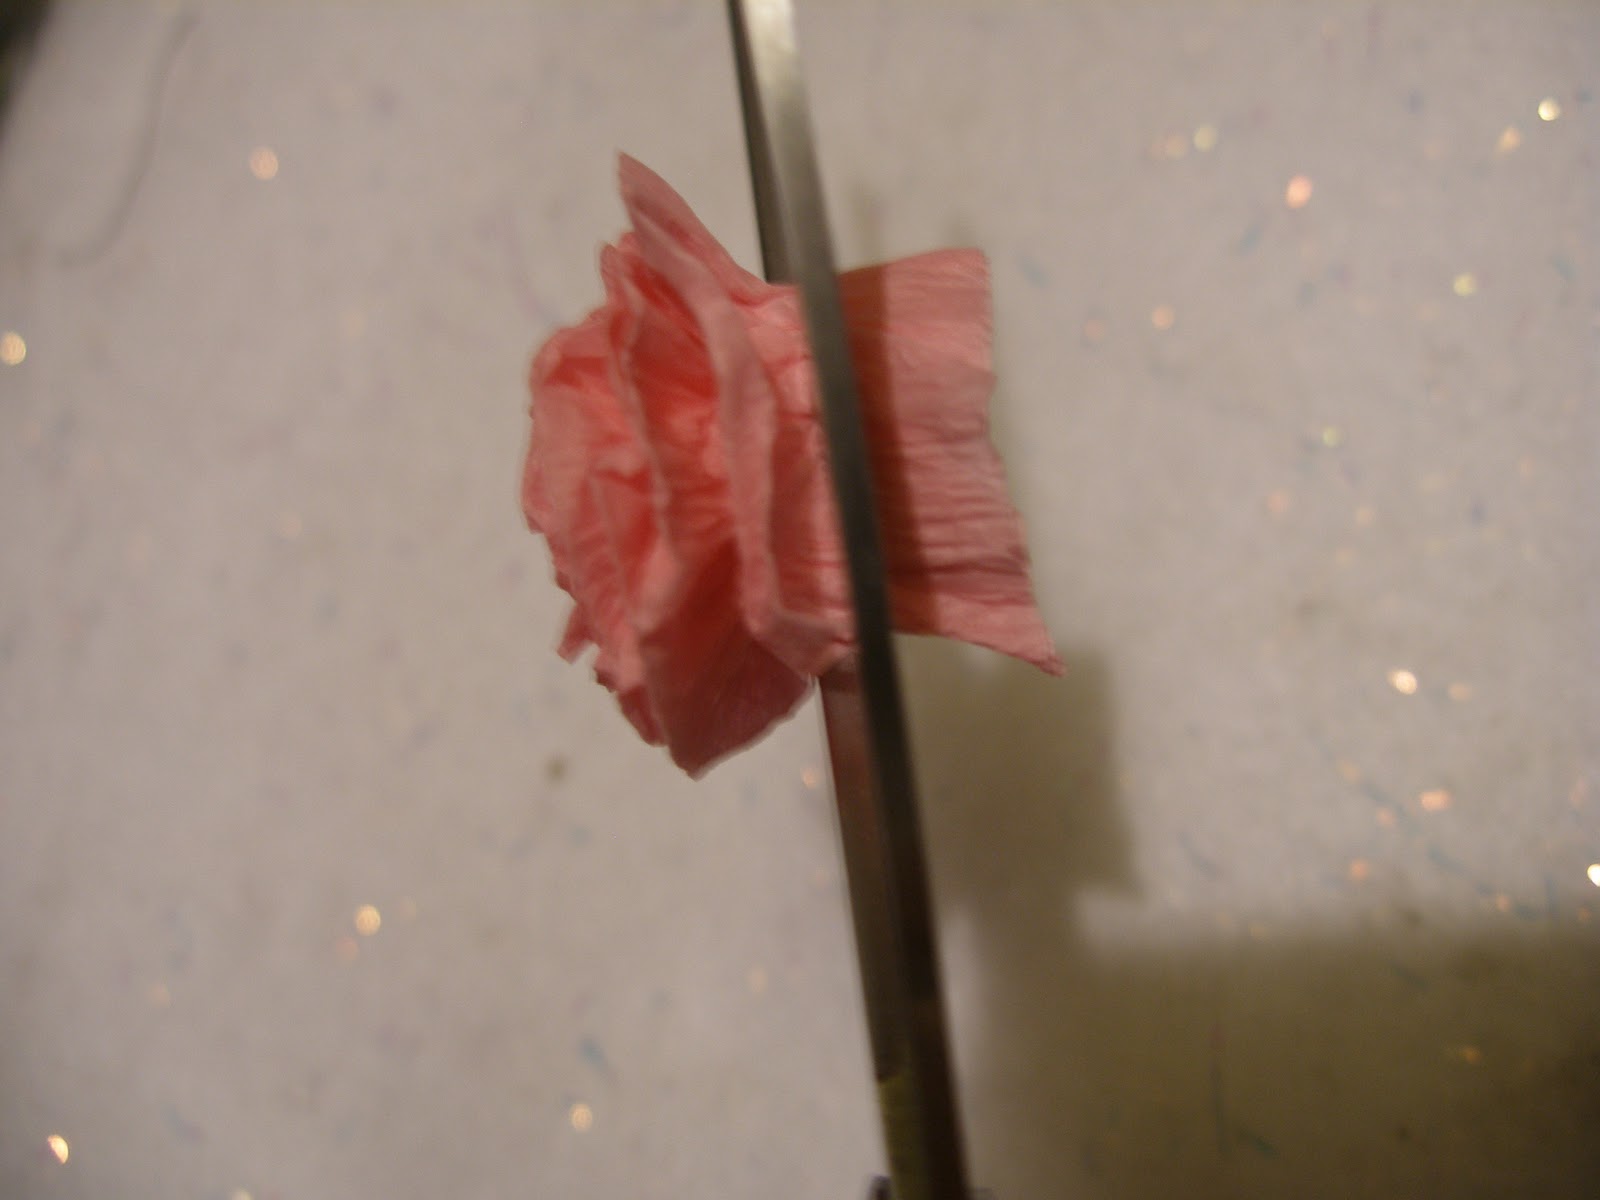
I took a streamer square and placed the
pencil top in the middle.


I then pulled the sides of the paper up to cover
the pencil.  I remember doing this back in
 elementary school to decorate pinatas.


So here's my lil' man preparing to put his
cutting skill to work.


And here he is cutting the squares out. 
We cut out a lot. 
Almost used the whole streamer roll.


Lil' man's turn to wrap the squares around the pencil.
 I've applied tacky glueon the outer part of the heart. 
I have other plans for the inside heart.


He's gluing it down. 
Look at the concentration on his face.


Here's some of the squares already glued on the cardboard. 
 Looks like flowers he said.


And here's more of the squares glued on. 
Looks fluffy and really didn't take too long.


TA-DAH!  The whole outer heart is complete. 
Now comes mommy's turn.


Using red streamer paper, I rolled and pinched lenghts
of streamer paper to create these flowers.  This time I made
sure I had the same length for each flower so they would be
about the same size but crazily, they still turned out
 having different sizes.  All depends on how I rolled them.


Here I have started gluing the flowers in
to fill up the inside heart.


All done!  Now how to hang it?


Visited the dollar store and found a really pretty
Valentine ribbon for (of course) $1.00.
I made a bow with long tails, glued the tails onto the back,
and it's ready to be hung. Now, I could cover the back
with felt or any fabric but personally I like having the
logo stuff on the back so when I tell people
it's recycled and what it's from,
I can also show them.  Proof...it's recycled!

Isn't it pretty?


Hope  you enjoyed it!

Peechee

       WWFB

Saturday, February 5, 2011

Streamer Paper Flower Ball

This is my flower ball made from crepe streamer paper that I bought from the Dollar Store. 
Now is that even the correct name - flower ball?


Anyhoo-- Pink streamer, styrofoamball, glue, and time is what you need to accomplish this flower ball. 
 I say time because it took me a while to roll up the paper into flowers - possibly because my thumb
is still in pain so I was using other fingers that aren't used to such usage.  But it didn't stop me. 
Slowed me down maybe, but not stopped.


 Normal people would measure out a length of streamer, cut it and roll it up. 
Not me, I started rolling it while it was still on it's large roll
I folded it half and then rolled it and pinched it together until I got the desired
fluffiness of a flower that I liked.  Then I would cut it off. 


Before gluing it to the styrofoam ball, I cut off the "stem" part so the flowers laid flatter on the ball.


Then I started gluing it onto the styrofoam ball.


Here's the completed ball.  Note that the streamer is pink but looks peachy due to no flash. 
The picture below looks more like the actual color but you can't see the detail as well.
I'm gonna have to save for a better camera and photo lighting kit.


Hope you n-joyed!

Peechee

Friday, January 21, 2011

Heart Garland Intertwined

Feeling a little better but I wish my hand was.  I am still in a lot of pain.  I really miss the use of my right thumb.  Life is a little bit more difficult without being able to use it.  Harder to type, can barely write, difficult to wash dishes, can't open a jar, can't grip my toothpaste...yaa dahh, yaa dahh, yaa dahh.   Worst of all though, I can't grip my glue gun!  Errrrr!!!  But I'm learning slowly with my left hand.

Anyway, I found another cute Valentine's decoration featuring heart garlands that are connected to each other.  So cute and (again) easy and cheap. 

Click HERE to go to the super easy tutorial.

Peechee

Wednesday, January 19, 2011

Yarn Hearts

Still a bit under the weather but lookie what I found today...
Yarn Hearts!!!

Aren't they cute?  Another simple, cheap, and fun project to decorate the house and windows.  Lil' man will definitely love this.  Can't wait until I'm better so we can try these out.

Click here to get the tutorial from Family Chic.

I'd love to see what you do with these.  Send me pix.

Peechee

Tuesday, January 18, 2011

Faux Stained Glass Hearts

I'm a little under the weather so I've been just surfing the web looking for some new and different ideas when I found this....
Aren't those the cutest?  Can you believe it's made from yarn, glue, and a little bit of watercolor paint?  As soon as I'm up for it, I'm definitely trying this.  Great thing is that this is easy enough that my lil'man can do this with me.

Click HERE to go to the tutorial for this awesome easy craft!

Peechee

Sunday, January 16, 2011

Paper Hearts into flowers, butterflies, and hangers

For the past couple of days my lil' man and I have been slowly working on creating some decorations for our front window. At first I had an elaborate idea on how to decorate it but my 5 year old had his own idea...and his ideas won.


To make things easier for him, I cut up strips of red, pink, and white construction paper and had him roll it up and glue it end to end. 


 Once together, we pinched one end then pushed the opposite end halfway in to form a heart.


  From there he did all the designing.  First is his butterfly.  He designed, we glued and punched holes...

Now a flower.... 

And his heart hanger... 

After he created his designs, we punched holes and strung them together. 


Ta-dah!! 

All ready to be hung... 

And here they are hanging in our window. 

Hope you enjoyed.

Peechee