Pages

Tuesday, August 7, 2012

Finally - Results of Ice Cream Party

Ok. I know it's been months but its been a busy summer. So without further delay here are the results of the ice cream party ....

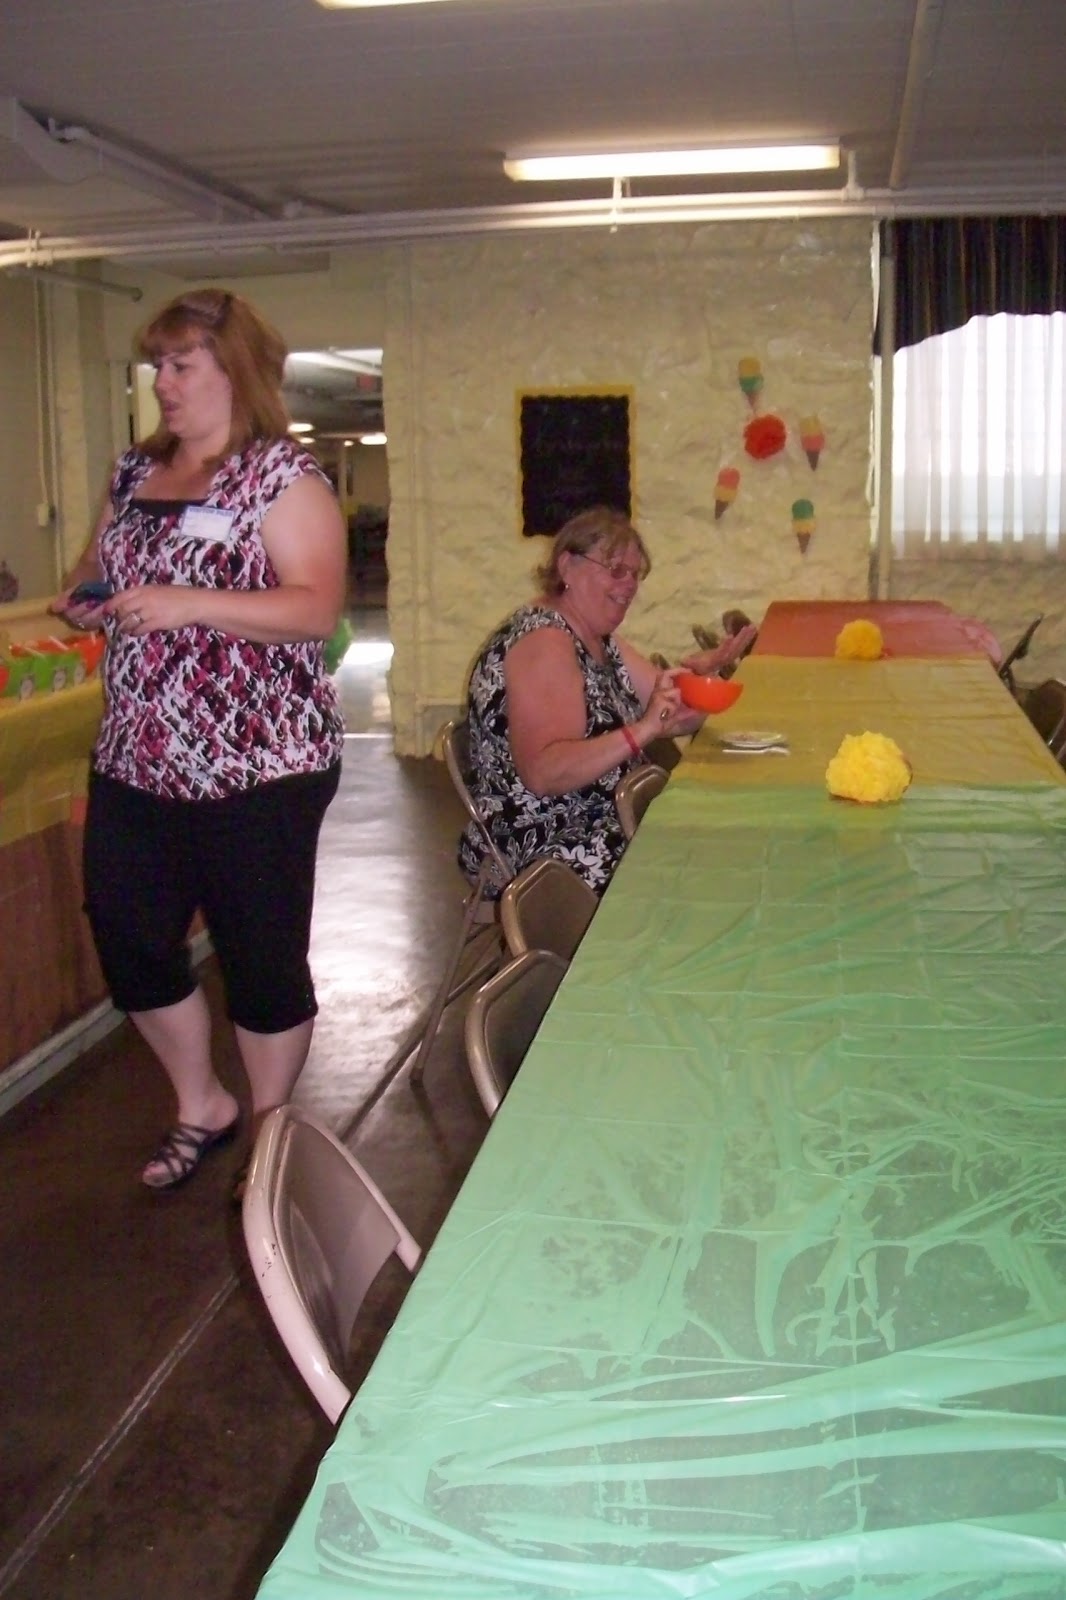
 The other room mom's helping with the party.  See the table covers?

 This is where we placed all the ice cream and topping choices.
Check out my tablecloth pouf and the ice cream banner.
 
The ice cream - vanilla, chocolate, and strawberry.
Their choice of sugar cone, waffle cone, or bowl.

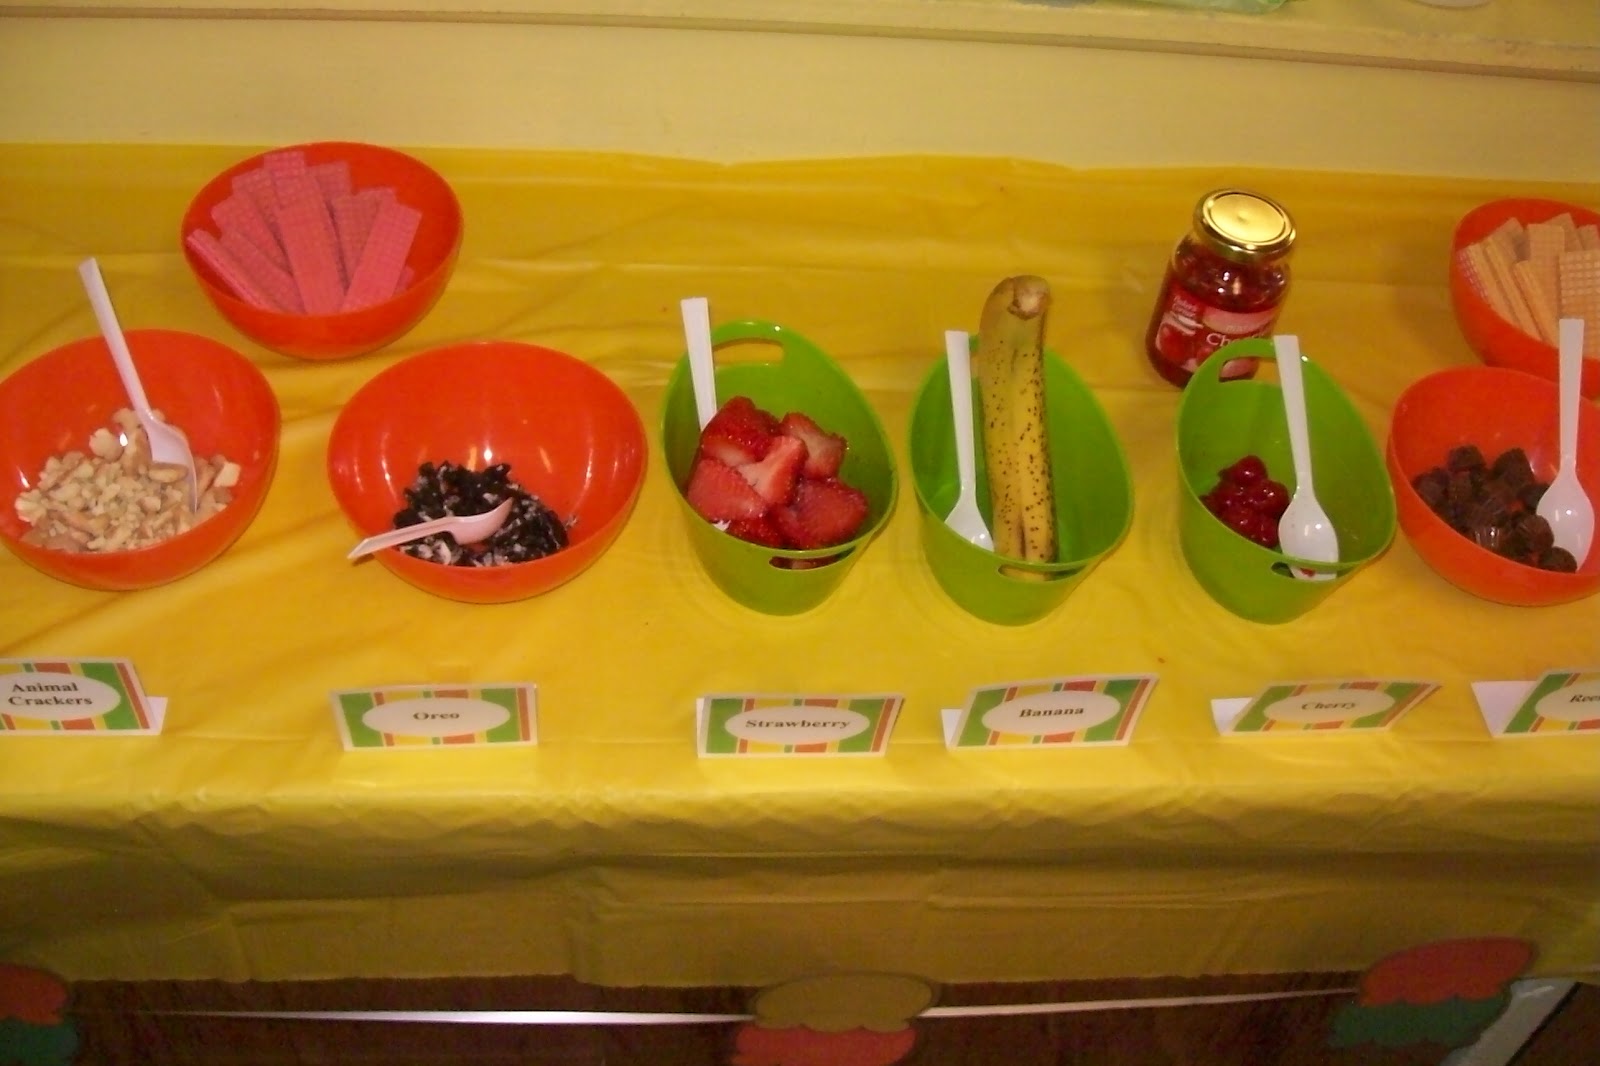
 Here are the topping choices.

 Chocolate or Strawberry drizzle or chocolate hard shell plus bottled water.

 Some of the decorations I created.  I laminated the cones so the 
teacher can use it again next year.
 
 I made these hot fudge ice cream balls so the kids could play an ice cream version of hot potato - called hot fudge sundae.  I know ... I'm so corny.  Geez.  Does anyone even say that anymore?

 I also made this game called pin the cherry on the sundae.

I also provided a little craft where the kids could create their own bracelet with charms that I created (I forgot to take pictures of the charms).  The kids really liked making these and surprisingly they were so quiet doing this activity.

The kids also did a freeze dance which was a hit as well.  I think anything that gets their bodies moving wildly is always a hit.

I would post pictures up of the kids enjoying their ice cream and having fun with the games but for privacy reasons, I won't.  Just know, we had a blast!

Peechee

Monday, May 21, 2012

Party Table Cover Flower Pouf

Phew!  Been a busy few weeks with moving my oldest baby out of his dorm, preparing for Prom for my baby girl and helping out with After Prom (sure not use to being out until 5am), then field trips, track and field day, and school picnic for my lil' man.  It's been crazy.

Well, now I'm preparing to host an ice cream party for my lil' man's kindergarten class as an end of the year party.  I've been running around getting bowls, buckets, candies, and making some decoration.  We don't have a big budget so I'm trying to use my creativity by making a flower decoration using party table covers.


Normally, tissue is what is used for these flower poufs but I decided to use plastic party table covers so that the teacher can use it again next year.  She can flatten it and next year just pouf it back up.  If it gets wet, just let it dry.  No problem.  Here's how I did it....

You'll need a plastic tablecloth, scissors, & string.

Cut the sides open so that you have individual sheets of the tablecover.

Fold over and cut it in half.

Start fan folding the tablecover.

Tie off in the middle.

Here it is tied off and fan folded.

Begin to pull apart each plastic piece.  Twist and turn any way you want.

Here is one half of the pouf separated.

And here it is all poufed out and ready to hand or taped to a wall or table.

I am making a few more in the colors of the ice cream party theme.  I will post pictures up after our party so you all can see my plastic poufs and our ice cream party decoration.

Until then...

Peechee

Monday, May 7, 2012

Portal's Companion Cube using Case-ons

During a craft show, I met a talented man who created some plastic pieces that you attach to CD cases to make ... well whatever you can come up with.  You could make a vase, a small storage box, a shelf, an art display. Pretty much whatever you can think of. This is what I came up with ... a companion cube from Portal the game.


I printed the cube picture, added them into the CD, then attached the clips and tah-dah!  A Portal Companion Cube.

So, these special clips are called Case-ons and the creator describes them as legos for your CD cases. Here's a picture of the clips...


So far, it only comes in the colors shown.  However, the creator gave me a tip that I could take colored markers and color the white ones so it could match whatever I wanted it to.

Here's a few other pictures of what has been created using case-ons...

So cute ... personalized the cd's with pictures.


 Want to give these clips a try?  Visit Case-Ons to place an order and to see all the wonderful things you can do with them.  If anything, it's a nice way to display your music CD's. Let's not forget ... it's recycling too.

Peechee

Saturday, May 5, 2012

Free e-book on t-shirt recycling

Here's a link to a free e-book called 9 Ways To Transform Your Old T-Shirts by AllFreeSewing.  Nice ideas and heck ... it's free.


Enjoy!

Peechee

Duct Tape Hairbow - say no to heat!

I love, love duct tape.  I think I must have every color and style.  Problem is I just kept buying them but not really making anything from them.  Found some time and create these hairbows ...


I think they turned out so stinkin' cute.  Enough so that I tried selling them at a flea market that I attended today.  I sold a handful and got lost of compliments.  However, I did discover something about duct tape ... they don't mix with heat too well.  For a short time, my bows were sitting under the sun and they started to peel apart (check out the yellow arrows) ...


So for future reference for duct tape creators out there (in case you didn't know), keep them away from the heat.  I was able to stick them back together easily once I removed them from the sun and they stayed together once cooled.

Planning on making a few more things with the duct tapes, so stay tuned.

Peechee

Thursday, May 3, 2012

Soda Bottle Garden Art

I did an Earth Day activity with my lil' man's class using, what else, what would be trash items and this is what the kids created...


 Aren't they beautiful?  Here were our tools...

First I asked the children to paint a green stem.  As you saw, some stems were really large and others really long.  But that's ok because it is all about the process not the product.  So yeah ... after painting the stem, I showed them how they could dip the bottom part of the soda bottle into the paint and stamp it on top of their stems.  I offered different bottles for different flower looks.  I also showed them how you can flip the soda bottle over and dip the top of the bottle to make the inner circle part of the flower when stamped.  They did some with the cap on for a filled-in circle and some with the cap off for a hollow circle stamp.  For the leaves, I cut up a paper towel tube and flattened it a little, had the kids dip one end and ta-dah... leaves! The kids loved doing this project and they did turn out great.  It's Recycle Art!


Wednesday, May 2, 2012

Milk Jug Butterfly suncatchers

We go through a lot of milk in our house since there are so many of us and my recycling bin quickly gets filled up with milk jugs.  For a while I have been wanting to recycle these jugs into something else.  I have a few ideas but started with these butterflies.

First I cut apart the milk jug with regular kitchen scissors.  It cuts so easily.  I kept the flatter parts of the jug.  Then I made a template of a butterfly and cut out the shape on the milk jug.  From there, lil' man and I made our own designs and colored them in using sharpie colored markers. Once done, we punched a hole at the top of the butterflies so we can hang them in the window as our suncatchers.

Here they are hanging in the window.  Not the best picture since it is cloudy out and you see my neighbors siding and power lines.


Anyhoo ... I think they look awesome!  BUT be careful handling the butterflies because the colors easily scratch off.  I'm wondering if spraying them with a clear coat would help ... or sanding the surface down first.  Hmmmm... time for some experiments.

Peechee

Monday, April 30, 2012

Kanzashi Flower clip from School Uniform

My lil' man attends a private school and so of course they have to wear uniforms.  Well, the school is very strict about what accessories could be worn. There aren't too many options.  Well, I wanted to give the girls something extra and cute that they can wear in school and still be "in code".  So I created this flower clip using a kanzashi style fold and using a used uniform that I received from a teacher when I told her what I wanted to do. 


I presented it to the principal to get her ok for the girls to use in school and she said yes.  So I made a few and donated it to one of their events so the girl's could get them.  And let me tell you .... they were a hit!  I wish I had enough time (and money - since uniforms are so expensive) to make every girl in the school one of these or the headbands.  I'll just keep going though with what I have.

Here's a headband I also created -notice its a different petal shape ...


Here is a different headband in my hair ...


If you are interested in a tutorial, give me a shout in the comments section.

Peechee

Sunday, April 29, 2012

T-shirt into a ruffled scarf

So this is the post I promised back in February that I never did post.  It's my t-shirt scarf  ...


Sorry for the blurry picture.  I took this with my cell phone camera.

As I made this I forgot to take pictures but really it is easy.

1.  Flatten out the t-shirt you are going to use.
2.  Using the large part of the t-shirt, trace a large plate around the t-shirt.
3.  So now you have a large circle on the t-shirt.  Cut out the circle.
4.  Pick a point anywhere on the outside part of the circle and start cutting a spiral.
5.  Keep cutting until you reach the center.
6.  Pull/stretch the t-shirt and voila!

Do this about 3-4 times to get the super ruffles.

NOTE:  If you use a large or extra-large t-shirt, you can get lots of circles on the t-shirt.  If you use a small plate, you may have to connect the t-shirts to make a longer scarf.

In case this is still confusing, I will try to post a picture within the next month.  So stay tuned!

Peechee

Saturday, April 28, 2012

Back with rope crafts

I've been MIA for a bit because I was taking classes to get my 90-hour certificate so that I can teach preschool again.  See I used to teach preschool several years back but stopped after having my lil' man.  Well, he's bigger now and is in school, so I'm going back to teaching again.  Woo-hoo!  I'm so excited.

Enough of that ... Over the past couple of months, as my stress reliever I did do some crafts but didn't have the time to post.  Well, I have time now, so here's my rope crafts....


This is a coffee can that I wrapped in nylon rope from the Dollar Store. Now it houses my pens nicely.  Yes... the flowers you see are my flower pens.  Here's a picture of the can during the gluing process.


Inspired by a basket I saw at Starbucks, I also made this this from a cardboard box and then wrapped it in the same nylon rope...


Here's the box that inspired me....


Now I know mine is nowhere near as nice as the Starbucks basket, but it does it's duty.  Hides things while still looking presentable ~ and it matches my kitchen color.

Since I had some rope leftover, I decided to cover a left over ribbon spool...


It now holds little trinkets inside.  I could go further and paint the inside or cover it with fabric.  That will have to be for another rainy day.

Hope you enjoyed.

Peechee