For a while, I have heard of slightly melting plastic soda bottles into different forms. I've been wanting to try it for a while but I don't drink sodas. Well, I recently attended a family party where they had 2 liter plastic bottles. When I saw they were empty, I grabbed 2 of them and threw it in the car so I could make this ...
Those charms that you see (the clear and the pink ones) are made from the soda bottles I took from the party. *snicker* Here's how I made them. WARNING: This is pretty picture heavy ...
The bottles I took. Shhh!!!
Washed the bottles and remove the label.
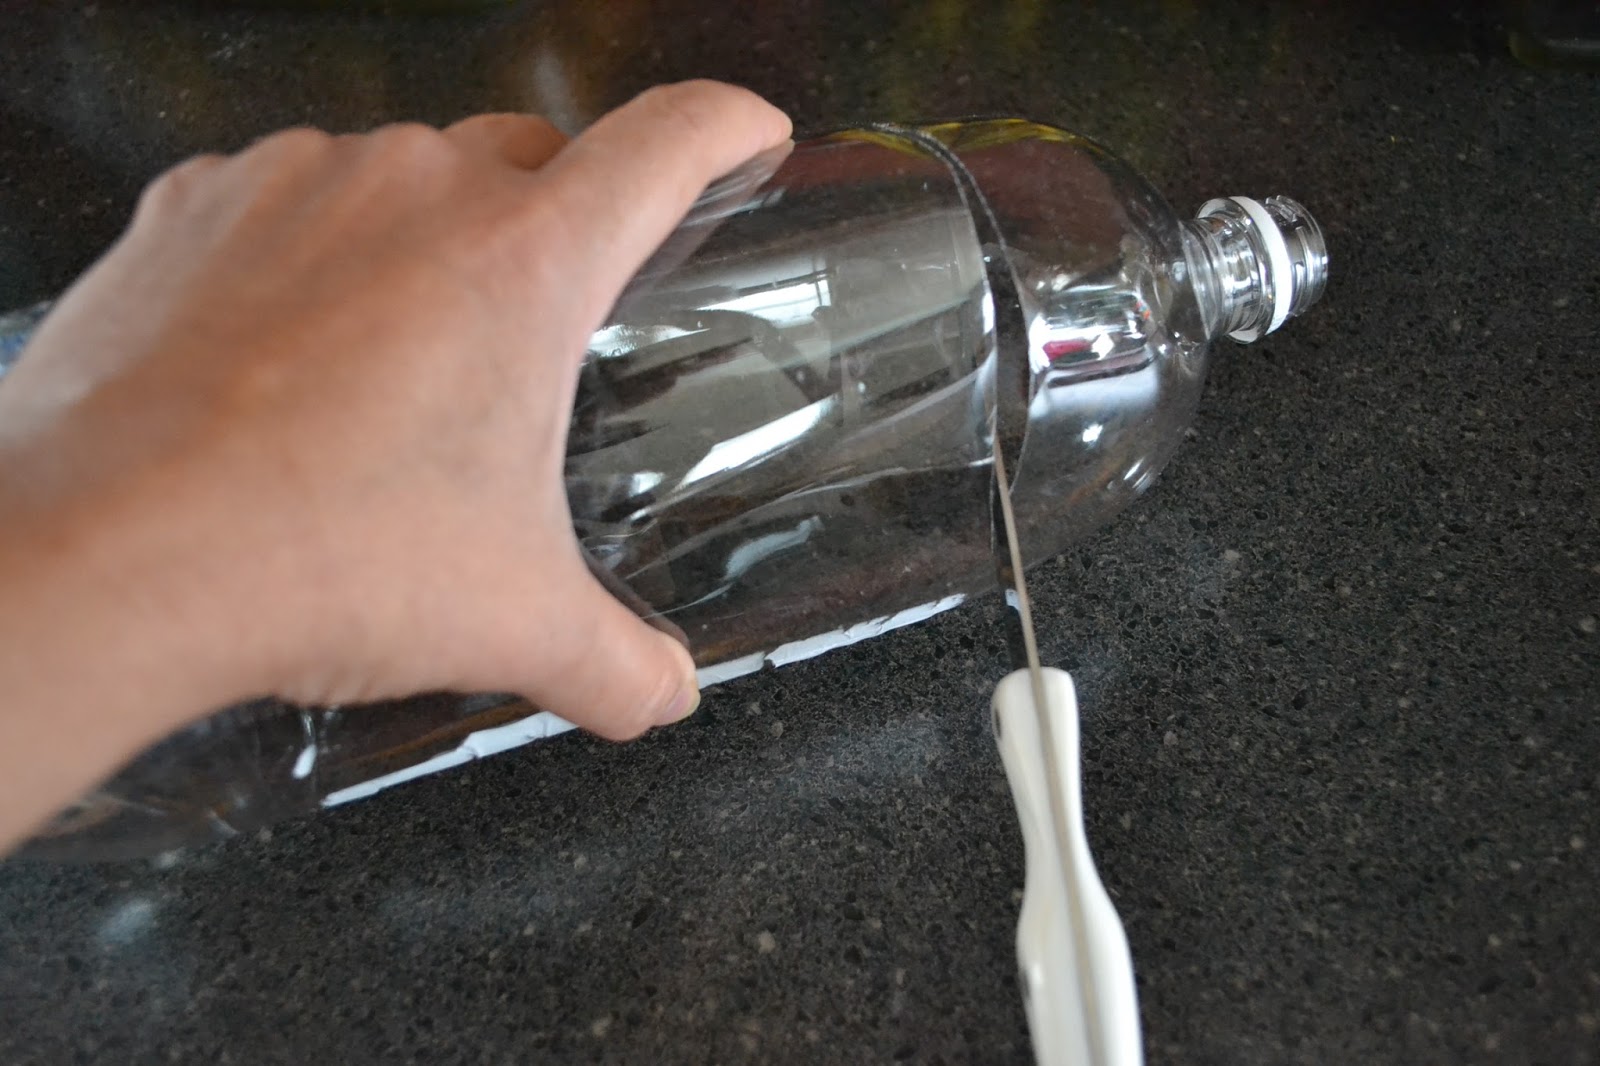
Inserted (stabbed) a sharp knife through the top of the plastic bottle. I am fortunate to have a cutco knife which are like super sharp. Just be careful when doing this part.
Now continued to slice the plastic bottle in order to remove the top. When you have a big enough space, you could switch to scissors for safety. Again, my cutco is so sharp, I just kept right on going.
Here's the top removed.
Using scissors, I cut up the side where the seam is on the bottle . Cut all the way up and then around the bottom part of the bottle to separate it.
Here's what it should look like once you cut everything apart.
Now I grabbed my sizzix flower charms die to cut out some ... of course ... flower charms. NOTE: If you don't have a sizzix, you can still make the charms. Keep reading on. I'll reveal down below.
Here's what the die looks like.
A cut a piece of the large plastic to fit the size of the die.
Sandwiched it in and ran it through my sizzix.
Here is what it looks like after I took it out of the machine. See those the large blank space? What a waste! I could have used that! Ugh!
Popped it out and here's the pieces.
OK. That empty space that I could have used really bothered me. I hate wasting things. So using the plastic pieces I already popped out, I placed it under the other plastic sheet and used them as a template to make more flowers. See how much more flowers I can have. No wasting space. This is where for those of you who don't have a sizzix can do. Just freehand some flower shapes and cut it out.
I wanted to try something different and so I colored one of them in, just to see what happens.
I then cut them out.
Now I grabbed a tweezer, a tealight, and a lighter. This is for the shaping part of the plastic.
Held one end of the plastic flower with the tweezer and carefully held it ABOVE the flame. Do NOT put it right into the flame. The heat that rises from the flame will be enough to melt the plastic flower. You have to move it in and out of the heat and you'll see the plastic curl. There's really no control over which way it will curl but that's the beauty of it (for me, at least).
Here's the pink one curling. It looks like it's on fire but that's just the reflection.
Here they are all curled and not anyone looking the same.
I then took a needle and heated the tip of it and quickly inserted it into the middle of the plastic charm. This is to put a hole to feed the head pin into to hang from the bracelet.
When the needle is heated enough, it will push right through the plastic charm so easily - like butter.
Here's the hole.
Here are the charms all with holes now.
I then grabbed a bracelet that I already had so I could add the plastic flower charms to it.
This is me showing off my bead pearl stash. :-) But I did use the white pearls.
I grabbed some headpins to feed through the pearls and my jewelry tools to bend the headpins.
Fed the headpin through the pearl bead and then through the plastic flower charm.
Using the jewelry tool, bended the headpin to make like a loop.
Inserted it into one of the links on the bracelet and wrapped it around itself and closed off the ends.
Here it is with all of them attached to the bracelet.
Another picture of me wearing it.
The back side.
So what do you think?
I'm definitely liking it. Next time, I'm free handing the flowers giving them larger petals but smaller overall size and I plan on coloring them as well. Hmmm... I think I"m going to need some earrings to match this. Maybe a ring too.
Peechee
I'm partying this over here ...
Manic Monday Pin It Monday Keeping It Simple Craftastic Monday Craft-O-Maniac Monday Mad Skills Making the World Cuter Made by You Monday Make the Scene Monday Take a Look Tuesday The Inspiration Exchange Homemade by You Wow Me Wednesday Lil Luna Link Party Wednesday Whatsits Whatever Goes Wednesday Pinterest Power Party Sugar and Spice Pity Party Friday


1 comment:
how long was the whole process?
Post a Comment