
Being laid up due to an ankle injury, I figured this would be a good time to try. So here it goes. WARNING: This post is pretty picture heavy ....

First gather your cereal box, scissors, and desired letter. I printed out a letter on a 8.5x11 paper. NOTE: I found that the cereal boxes bought from bulk stores (Costco, Sam's, BJ's) are the best to use as they are much sturdier. The ones from regular grocery stores are just too flimsy. The boxes have to have some weight to them to hold up.

Trace the letter you want on the front or back part of the box. The biggest area of the box.

Cut out the letter.

Trace and cut out another letter.

Using the sides of the cereal box, measure and tag every 1.5".

Make lines on the tagged measurement and cut out. This will be the sides of the monogram.

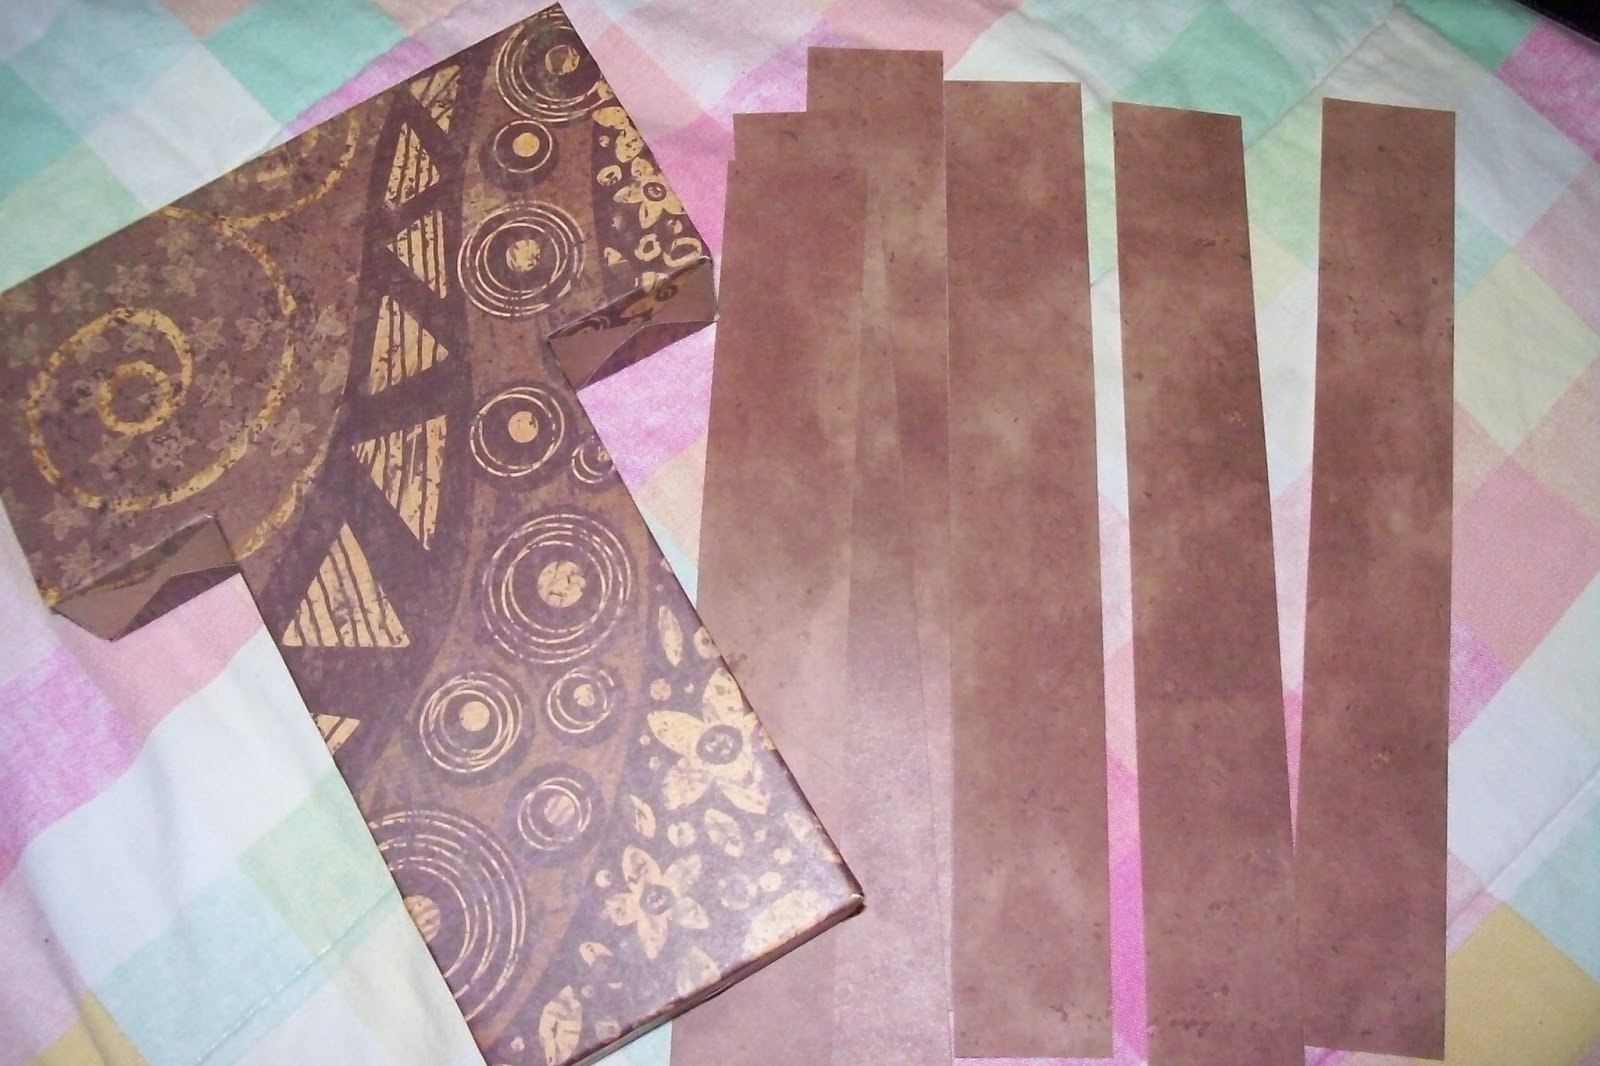
Here are the cut out pieces.

Using a hot glue gun, strart gluing the sides to the monogram letter. You will have to measure out where the bends will be and score it for easy bending.

Here are the sides glued on all around the monogram letter.

Another view.

Now match and glue the second monogram letter onto the sides.

Here's the 3d monogram letter ready to decorate.

These are the 12x12 scrapbook paper I decided to use to decorate the monogram.

Glue on the paper to the monogram and cut out the sides to fold over and glue.

Glue the sides down.

Now glue on the second paper to the other side of the monogram.

Glue down the sides.
Just like before, cut out "side" covers from scrapbook paper.

Glue it around the sides. Here's one side

Here's another and done. Time for the flower.

Cut out 3 different size squares ... 2", 1.75", and 1.5"

Here's the 2". Fold in half and cut out a petal like shape. Freehand is fine - just make sure there's a bottom part that is flat for the stem part, a bump out from there, and then a pointy tip at the top.

Unfold it and here's the petal.

Make a petal from each square - this will be your template which you will use to cut out on felt.

Here they are all cut out. I used 3 varying brown colors, as you can see. For the 2" petal, cut out 12 pieces. The 1.75" petal, cut out 10 pieces. The 1.5" petal, cut out 8 pieces.

Now cut out a felt circle size 3". This will be your backing to the flower.
(sorry flash blew out the picture - one is the felt, the other is a paper template I used)

Now take 1 petal and apply glue to the bottom part of it (the one with the straight edge) and curl the ends into the glue. The petal should be cup-like.

Do this for all the petals.

Now glue the petals around the edge of the circle felt. Before I glued mine down, I first arranged them on the circle to make sure they fit nicely together. Then one by one, picked each petal up and glued it down to where I had placed it.

Here's the rest of the petals - the 1.75" and the 1.5"
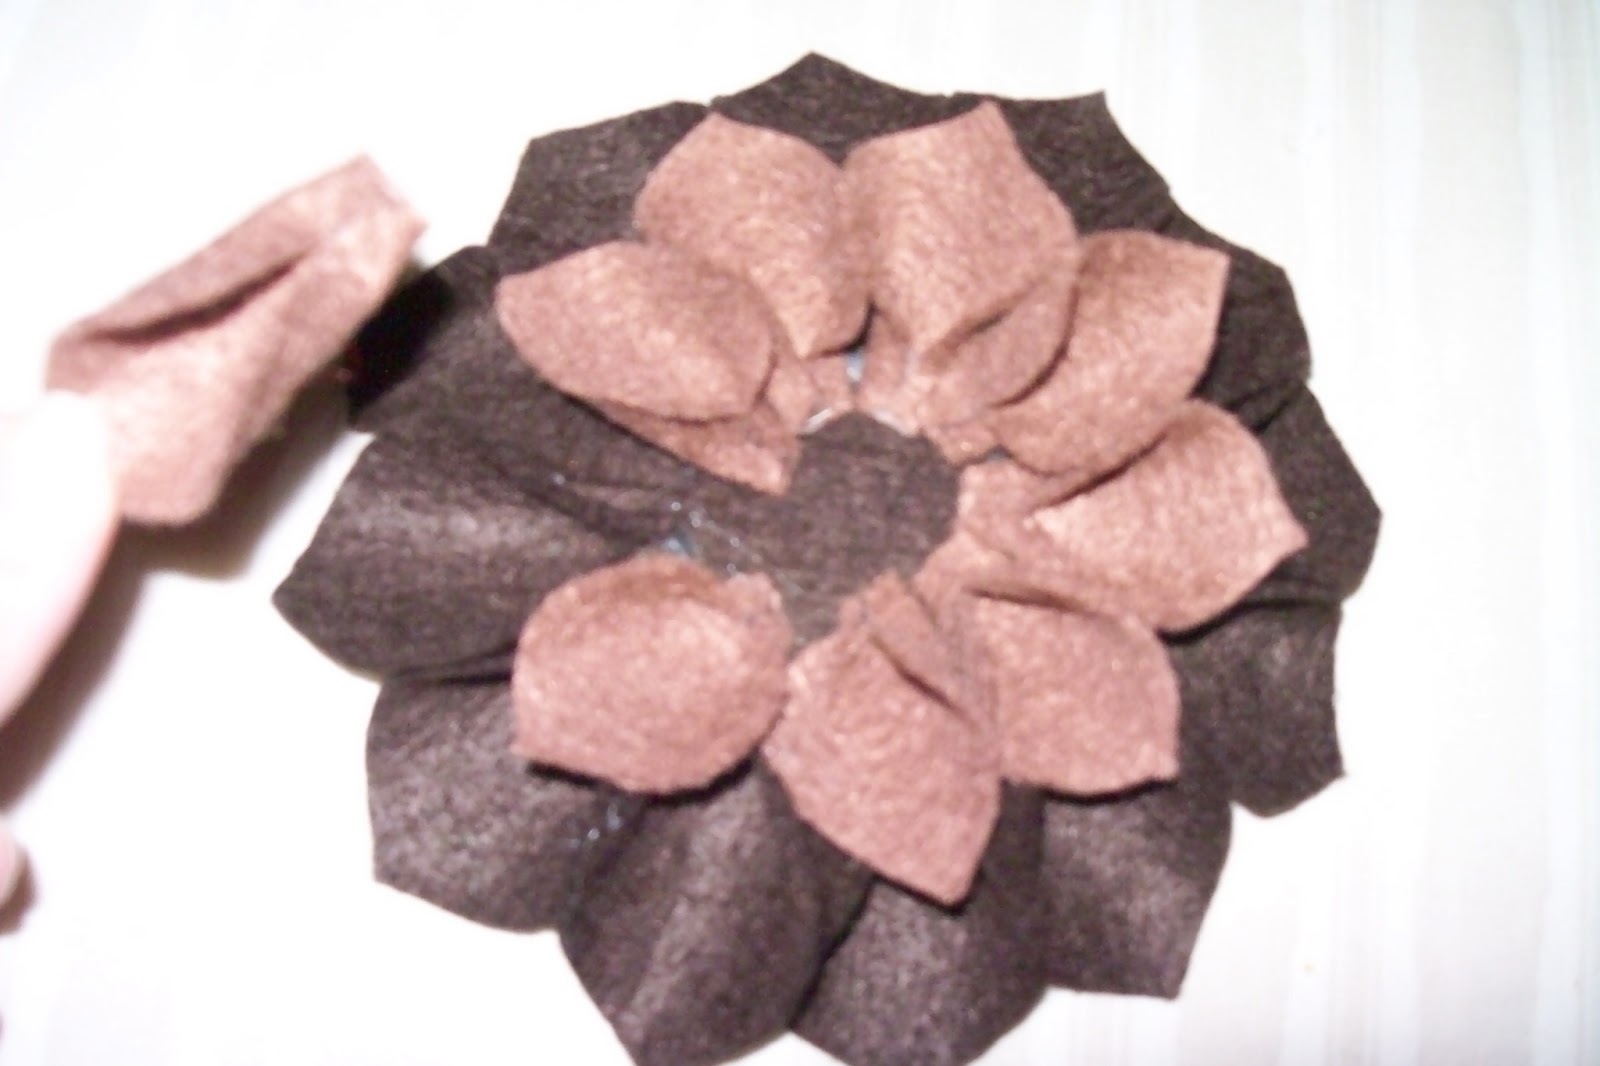
Again, arrange the 1.75" petals inside of the 2" petals then glue them down.

Do the same for the next set of petals (the 1.5" size).

Cut a strip of felt 1" by 9" and cut slits along the strip. I made my slits cut down to about 3/4 of the way. Don't cut all the way through - just slits.

Then roll up one edge of the strip and keep rolling. Keep the uncut part of the strip even.

Once rolled, apply glue and stick it in the center of the flower between all the petals.

Fluff it out and here's what it should look like.

Glue onto the monogram and...

Tah-dah!
So there it is. Not too hard, just time consuming but fun to do. I think it looks good just the way it is but if you wanted to seal it, you could apply modge podge all over the entire thing. I just don't like the strokes the modge podge sometimes leaves on things, so I opted not to do it with this. It's just going to be sitting on a shelf, so I don't expect it to get any wear and tear.
I'm partying this post over at:
1 comment:
Well dang... that is awesome!!!!!
Post a Comment