Anyway, I have been collecting a lot of fleece, especially those that become remnants - oh heaven! Nothing better than getting a 50% discount on top of a sale price. Woo-ho! I digress ... So I've been searching for projects to make with fleece. I found a cape/poncho on a blog which I thought was so adorable. So I tried it and here is what it looks like finished ...


I thought it's kind of big and maybe I needed to fold it the other way (selvage to selvage) because right now, this is a darn blanket.

Nope! Still a darn blanket. And it's supposed to look something like this? Really?

So, I decided to fold the long piece in half and look!

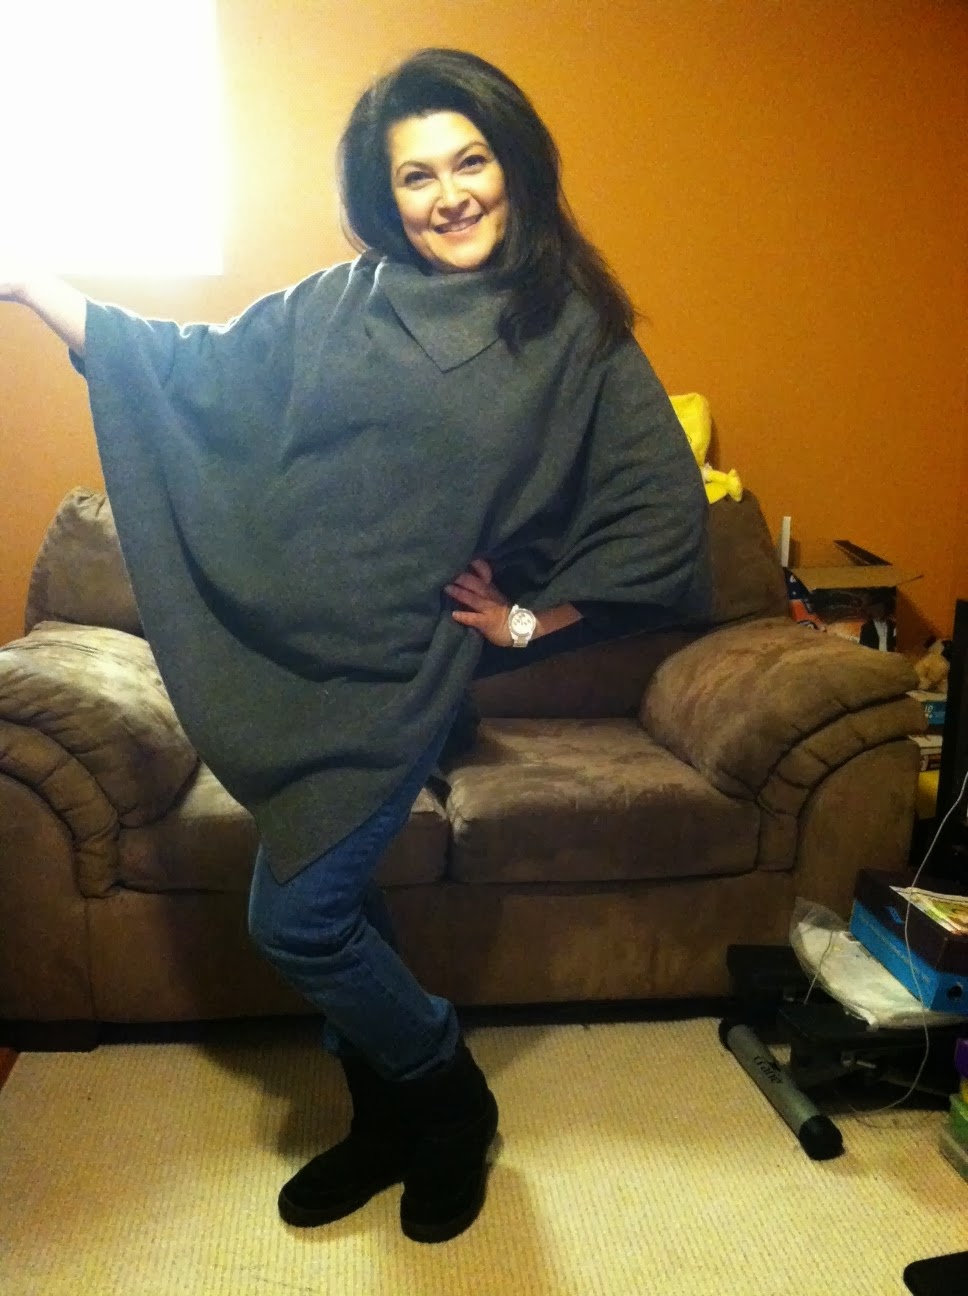
Now that's about right. Now I can wear that size like a cape/poncho. So on with how I did it. But first, look who was hiding behind me as I took my pictures ~

OK. On with my tutorial .... Obviously, first I cut that 1.75 yards of fabric in half.

Now you have 2 pieces so you could technically make 2 capes/ponchos. Put 1 piece aside for another project. With the piece you will be working on, cut off the selvages from the fleece.


Your fleece should still be folded in half. Make sure you have your fleece are right sides together. To know which is the wrong side, pull on the stretchy edge of the fleece. You'll see the fleece roll. Whichever way it rolls IN, is the wrong side of the fleece.

Turn your fleece so it is now facing you at an angle with the fold.

Starting at the fold, measure 11" out and put a pin to mark it. The pin is going to be your starting point when you sew the fleece together.

Pin it all the way down to hold the open edges in place.

Take it to the sewing machine and sew a straight stitch starting at the start pin and all the way to the end. NOTE: I am not a sewer so I don't know all the terminology but I stitched the size of the presser foot. Basically, I just matched the end of the fabric to the edge of the presser foot. Does that help?

Once I sewed the one side, I went back up to my starting stitch and stitched a very short vertical stitch to secure the starting point stitch since this is one side of the head opening. I was scared it may rip open when I put it on, so it's like a safety stitch to make it hold better.


Go back to the top corner and now you will repeat on the folded edge. Measure 11" down, pin your starting point, and pin all the way down the one side to hold the fabric during stitching.

Before I took it to the sewing machine though, I decided to cut the folded edge up to the 11" mark. That's the other opening side for the head.

Stitch it straight down then the vertical safety stitch, just like before.

Here it is stitched on both sides.

Here it is with one part of the corner pulled down - this is the opening for the head.

Turn the fleece inside out and put it on! TAH-DAH!


Thanks for looking!
Peechee
No comments:
Post a Comment